
Getting healthy is high on everyone’s list these days, whether you’re looking to improve heart health or drop those pandemic pounds you may have put on over the last couple of years. Adding whole grains to your diet is an easy way to achieve both goals, and one of the most versatile is quinoa. If you’ve been wondering how to grow quinoa yourself, you’re in luck – it’s a fairly adaptive plant that can be grown in a variety of locations with few special conditions.
Where does quinoa originate from?
Quinoa is considered an ancient grain – one which has not been significantly changed through selective breeding or hybridization through the millennia. It was originally cultivated in the Andes region of Peru and Bolivia, growing in the loamy soil around Lake Titicaca. Although it’s considered a grain because of its similar nutritional makeup, quinoa is actually a seed that’s more closely related to sugar beets.
What are the health benefits of quinoa?
Quinoa packs a lot of health benefits into a tasty package. Like other grains, quinoa is high in fiber, B vitamins, magnesium, iron and a host of antioxidants. It’s also one of the few plant-based foods that contains all nine essential amino acids, which are responsible for many important functions in the human body. It packs about 8 grams of protein per cup, making it a great substitute for high protein/low carbohydrate diets.
Because it’s not technically a grain, it doesn’t contain gluten, making it a very healthy alternative for those with certain medical conditions or who choose to eat a gluten-free diet. It’s also high in plant compounds quercetin and kaempferol, which have been shown in studies to reduce system-wide inflammation, kill cancer cells, help control blood sugar and fight degenerative brain diseases.
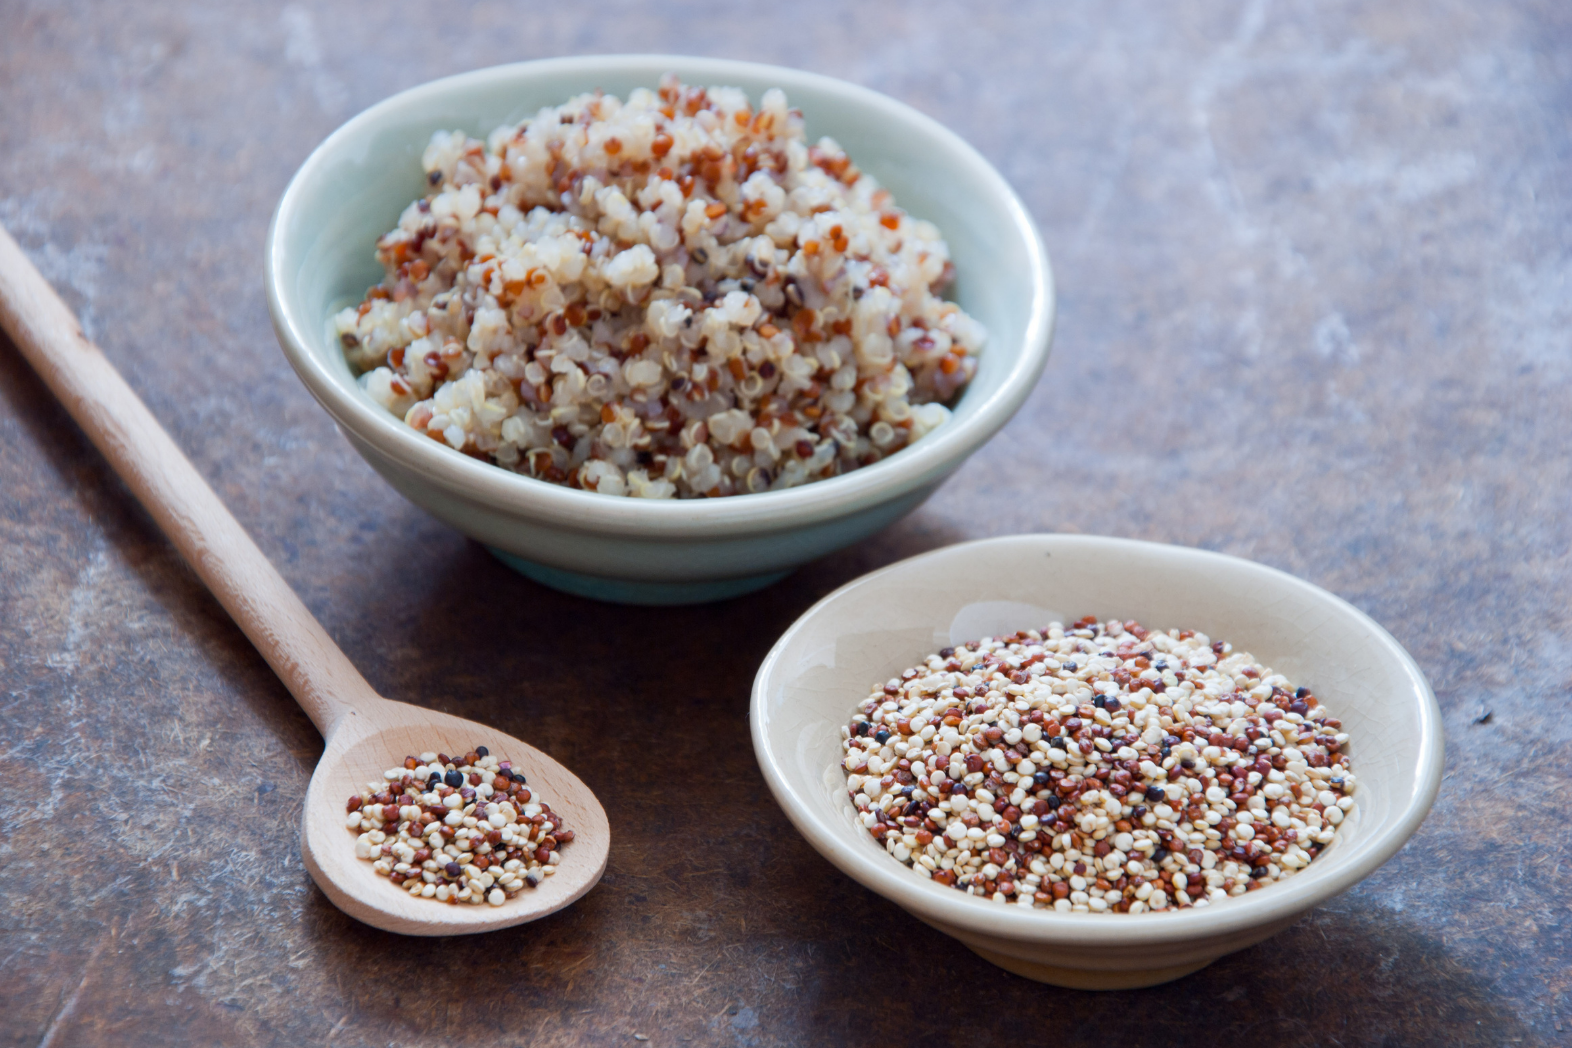
Are there different types of quinoa?
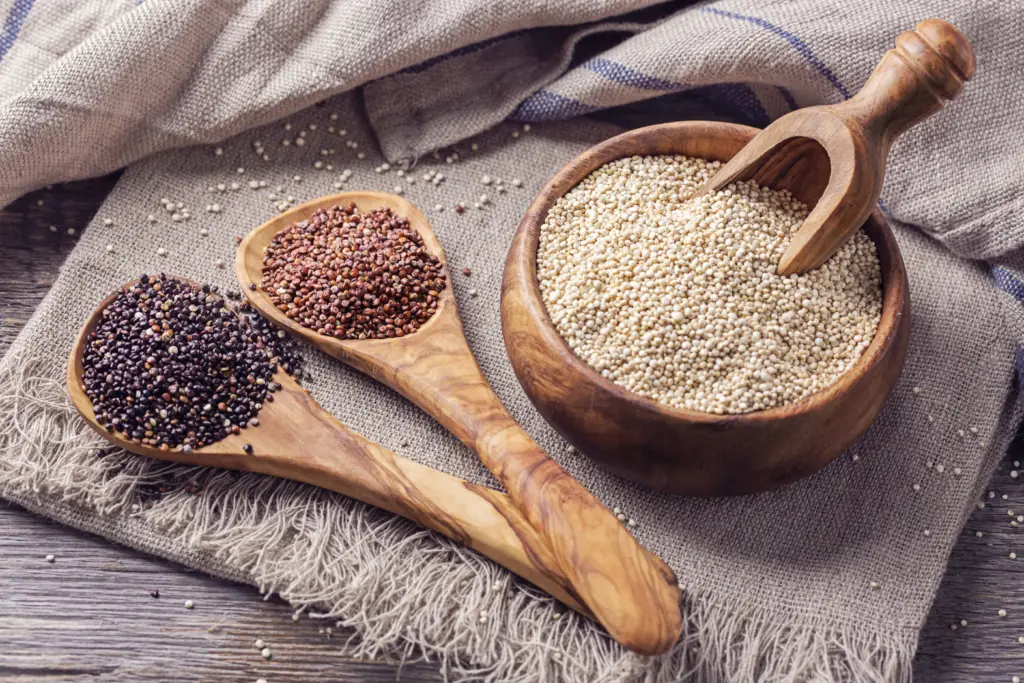
There are three different types of quinoa – white, red and black. White quinoa is the most common and can easily be substituted for rice, oats or couscous. It has the mildest flavor and is fluffier in texture than the other two. Red and black quinoa are not as common, but can still be found at health food stores or ordered through companies like Amazon. Their texture is considerably more crunchy than white quinoa, and the nutty flavor is more intense. Red quinoa is the highest in antioxidants of the three.
Where can I grow quinoa?
The first step in learning how to grow quinoa is determining if you live in an area where the plant can thrive. Because quinoa originated in the Peruvian Andes, the crop is best suited to cooler climates with a short growing season and a lot of direct sunlight. Quinoa will grow well in regions where daytime temperatures do not exceed 90 degrees and which have cooler nighttime temperatures. According to the USDA, quinoa grows well in zones four and higher.
Quinoa seedlings also require a lot of moisture in the beginning, although the plant is fairly drought-tolerant when fully matured. Arid regions in the Southwest are not good candidates unless you plan on growing your quinoa in a greenhouse.
How much space is required to grow quinoa?
When you begin researching how to grow quinoa, it’s important to consider how much space you can dedicate to the crop. It takes about ten quinoa plants to yield one pound of edible quinoa seeds, which means you’ll need a large number of plants to produce enough quinoa to last until the next harvest.
The plants themselves are large, growing to around four feet tall and sometimes up to eight feet tall. If you’re wondering if you can grow quinoa in containers, the short answer is no. The size of the plant and the number of plants needed to yield an average crop makes quinoa unsuitable for container or small-plot gardening.
Where can I get quinoa seeds?
Quinoa itself is a seed that is easily germinated indoors or directly in the soil. It is important to note that you must use pre-washed or unwashed seeds, not polished seeds. The polishing process refines the quinoa, similar to the refining of white rice. The process removes parts of the seed vital to its growth.
How to grow quinoa
Step one: Sprout your seeds
Because quinoa does best in cooler weather, it is usually planted in March in warmer climate zones and April or May in cooler zones – as long as it’s after the last frost of the winter season. If you live in an area with a particularly short growing season, you may want to germinate your seeds indoors before transferring them to the garden in three to four weeks.
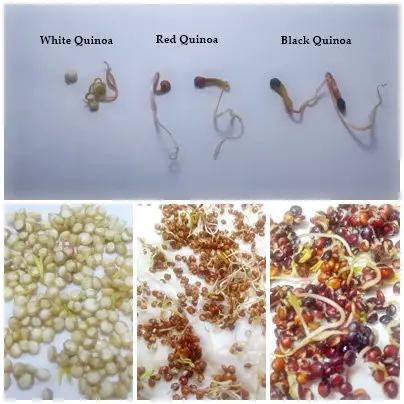
To germinate your seeds, you’ll want to start about a month before the last frost is expected. Take a paper towel, fold it into quarters and thoroughly wet it without wringing out any water. Place a few seeds slightly spaced in between two layers of the paper towel and place it in a zip-top bag for two to four days. After the seeds sprout, you can transfer the seedlings to a suitable container filled with potting soil and keep it in a warm, moist place until ready to plant.
Step two: Prepare the soil
Quinoa grows best in rich, loamy soil. The plant is adaptable, however, and will grow in most soils except hard-packed clay. Your plants will benefit from organic compost or fertilizer worked into the soil a few days before planting.
Step three: Plant your seedlings
Once the last frost has passed and the soil has reached about 60 degrees, it’s time to transfer your seedlings to the garden. Using your finger, make a channel about an inch deep. If you’re planning on having more than one row of quinoa plants, you’ll want to make sure they’re at least 12 inches apart. Since quinoa plants are large, space out the seedlings about 16 inches apart. Cover them with soil and water them until the soil is moistened but not saturated.
If you decided to plant the seeds directly in your garden, make a shallow channel about a centimeter deep and sprinkle in the seeds. Cover them loosely with soil and water until the soil is just moistened. Once the seeds have sprouted, thin them out to one sprout about every 16 inches.
Step four: Mulch and water your quinoa plants
After the seedlings are well-established, it’s helpful to mulch your plants to keep weeds from growing and to help retain moisture. Quinoa plants like consistent moisture, but they are also drought-tolerant, so it’s best to water them after the soil is fairly dry but not completely parched.
How long does it take quinoa to grow?
Depending on your location, quinoa is generally ready to harvest about three to four months after planting. In colder climates, it may take slightly longer, whereas in humid climates, it may take less time. You’ll know your quinoa is ready when the leaves fall off, exposing the dried-out seed head.
Harvesting your quinoa
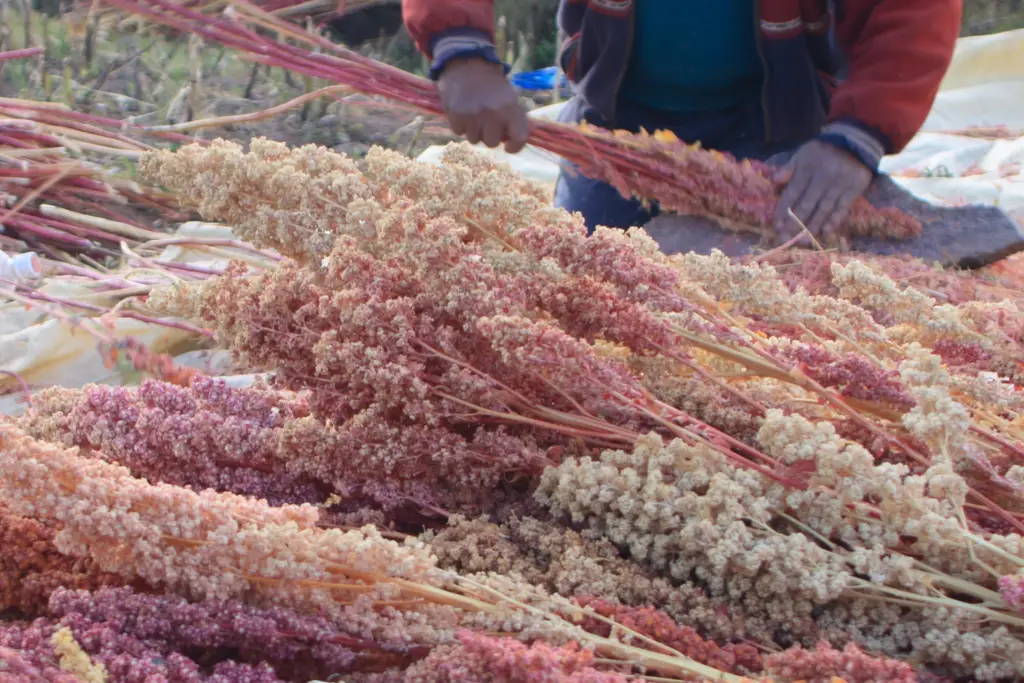
When it’s time to harvest your quinoa, there are a couple of different methods that will get the job done. You’ll want to waste as few seeds as possible, so it’s best not to jostle or shake the plants unnecessarily. Since some stalks can grow between six and eight feet tall, it’s usually easier to remove the seed head by cutting it about six inches below the bottom of it. Once you’ve removed the seed head, you can go about removing the individual seeds.
The first method involves manual removal. With gloved hands, grasp the stalk just below the seed head and pull up slowly as if you were removing leaves from a stem. This method can be messy and send the tiny round seeds flying no matter how slowly or carefully you pull upwards. Therefore, it’s best to spread out a cloth or tarp underneath you to catch the runaways so you can gather them up later.
The second method involves placing the entire seed head into a paper bag, securing the top of the bag, and then shaking it vigorously for several minutes. This will separate the seeds and chaff from the stem while keeping them contained.
Separating the quinoa seeds from the chaff
In order to store and eventually eat your quinoa, you’ll need to separate the seeds from the chaff. Since the chaff is so light, you can usually get most of it by pouring the seeds from one container to another in front of a fan set on the lowest setting. You may need to leave the seeds in a bowl to continue drying for a few days, because the drier the seeds and chaff become, the easier separating them becomes. Since quinoa is coated in a bitter substance, you’ll need to rinse it several times before cooking, and this should take care of any remaining chaff.
Storing your harvested quinoa
Once your quinoa is thoroughly dried and you’ve removed as much of the chaff as possible, store the seeds in a cool, dry, dark place for up to two years. Mason jars, airtight containers or tightly-sealed silicone storage bags work well, stored out of direct sunlight.
Congratulations on learning how to grow quinoa and stocking your pantry with a nutritious, tasty, and versatile whole grain!
