
In the heart of every homestead lies a connection to the land, a desire for self-sufficiency, and a passion for crafting essential items from scratch. Milling flour at home embodies these principles, transforming simple grains into the foundation of countless nourishing meals for your family or producing food for your livestock.
Milling flour at home requires selecting the right milling machine for your needs and the grain you are milling. Pour the grain into the hopper, and set the grind coarseness on the mill. Start the mill or turn the crank to grind the grain. The grain can be put through the mill multiple times.
Milling flour at home is more than just a culinary endeavor; it’s a symbol of sustainability, a nod to tradition, and a step towards a more mindful and connected way of living. Whether you’re a seasoned homesteader or just beginning to explore the world of self-sufficiency, our guide will take you through the art of milling flour at home. From choosing the right equipment to understanding the milling process, we’ll explore how you can bring the wholesome goodness of freshly milled flour into your homestead kitchen.
Milling Flour At Home
For many homesteaders, the journey towards self-reliance includes growing and harvesting grains and milling them into flour. This process allows for unparalleled control over the flour’s quality, texture, and flavor, ensuring that every loaf of bread or batch of muffins is created with the best ingredients, including home-ground flour.
Nothing speaks to truly homemade food as much as baking bread at home using flour grown on your land and ground by your own hand!
Why Mill Your Own Flour At Home?
The journey to milling flour at home begins with understanding the core elements that make this process both an art and a science. Each decision impacts the final product’s flavor, texture, and nutritional value, from the types of grains that can be transformed into flour to the methods used to mill them.
In the context of homesteading, these choices also reflect a commitment to self-sufficiency, quality, and a connection to the land. We will investigate the essential aspects of flour milling, laying the foundation for anyone eager to embrace this age-old practice on their homestead.
Types Of Grains To Mill At Home
Milling flour at home opens up a world of possibilities, allowing you to explore various grains that suit your taste and nutritional needs. Each grain offers unique characteristics, from the robust flavor of whole wheat to the delicate texture of spelt. Homesteaders often grow or source grains such as:
- Wheat. This is the most common grain for milling and is available in different varieties.
- Rye. Known for its earthy flavor, perfect for bread and crackers.
- Corn. Used for cornmeal, a staple in many traditional recipes.
- Oats. Oats can be milled into oat flour for a gluten-free option.
- Barley, quinoa, millet, and more. Experimenting with these grain varieties can add diversity to your diet.
Home Flour Milling Methods
The art of milling flour involves breaking down grains into fine powder. There are several methods to achieve this, each with its own advantages.
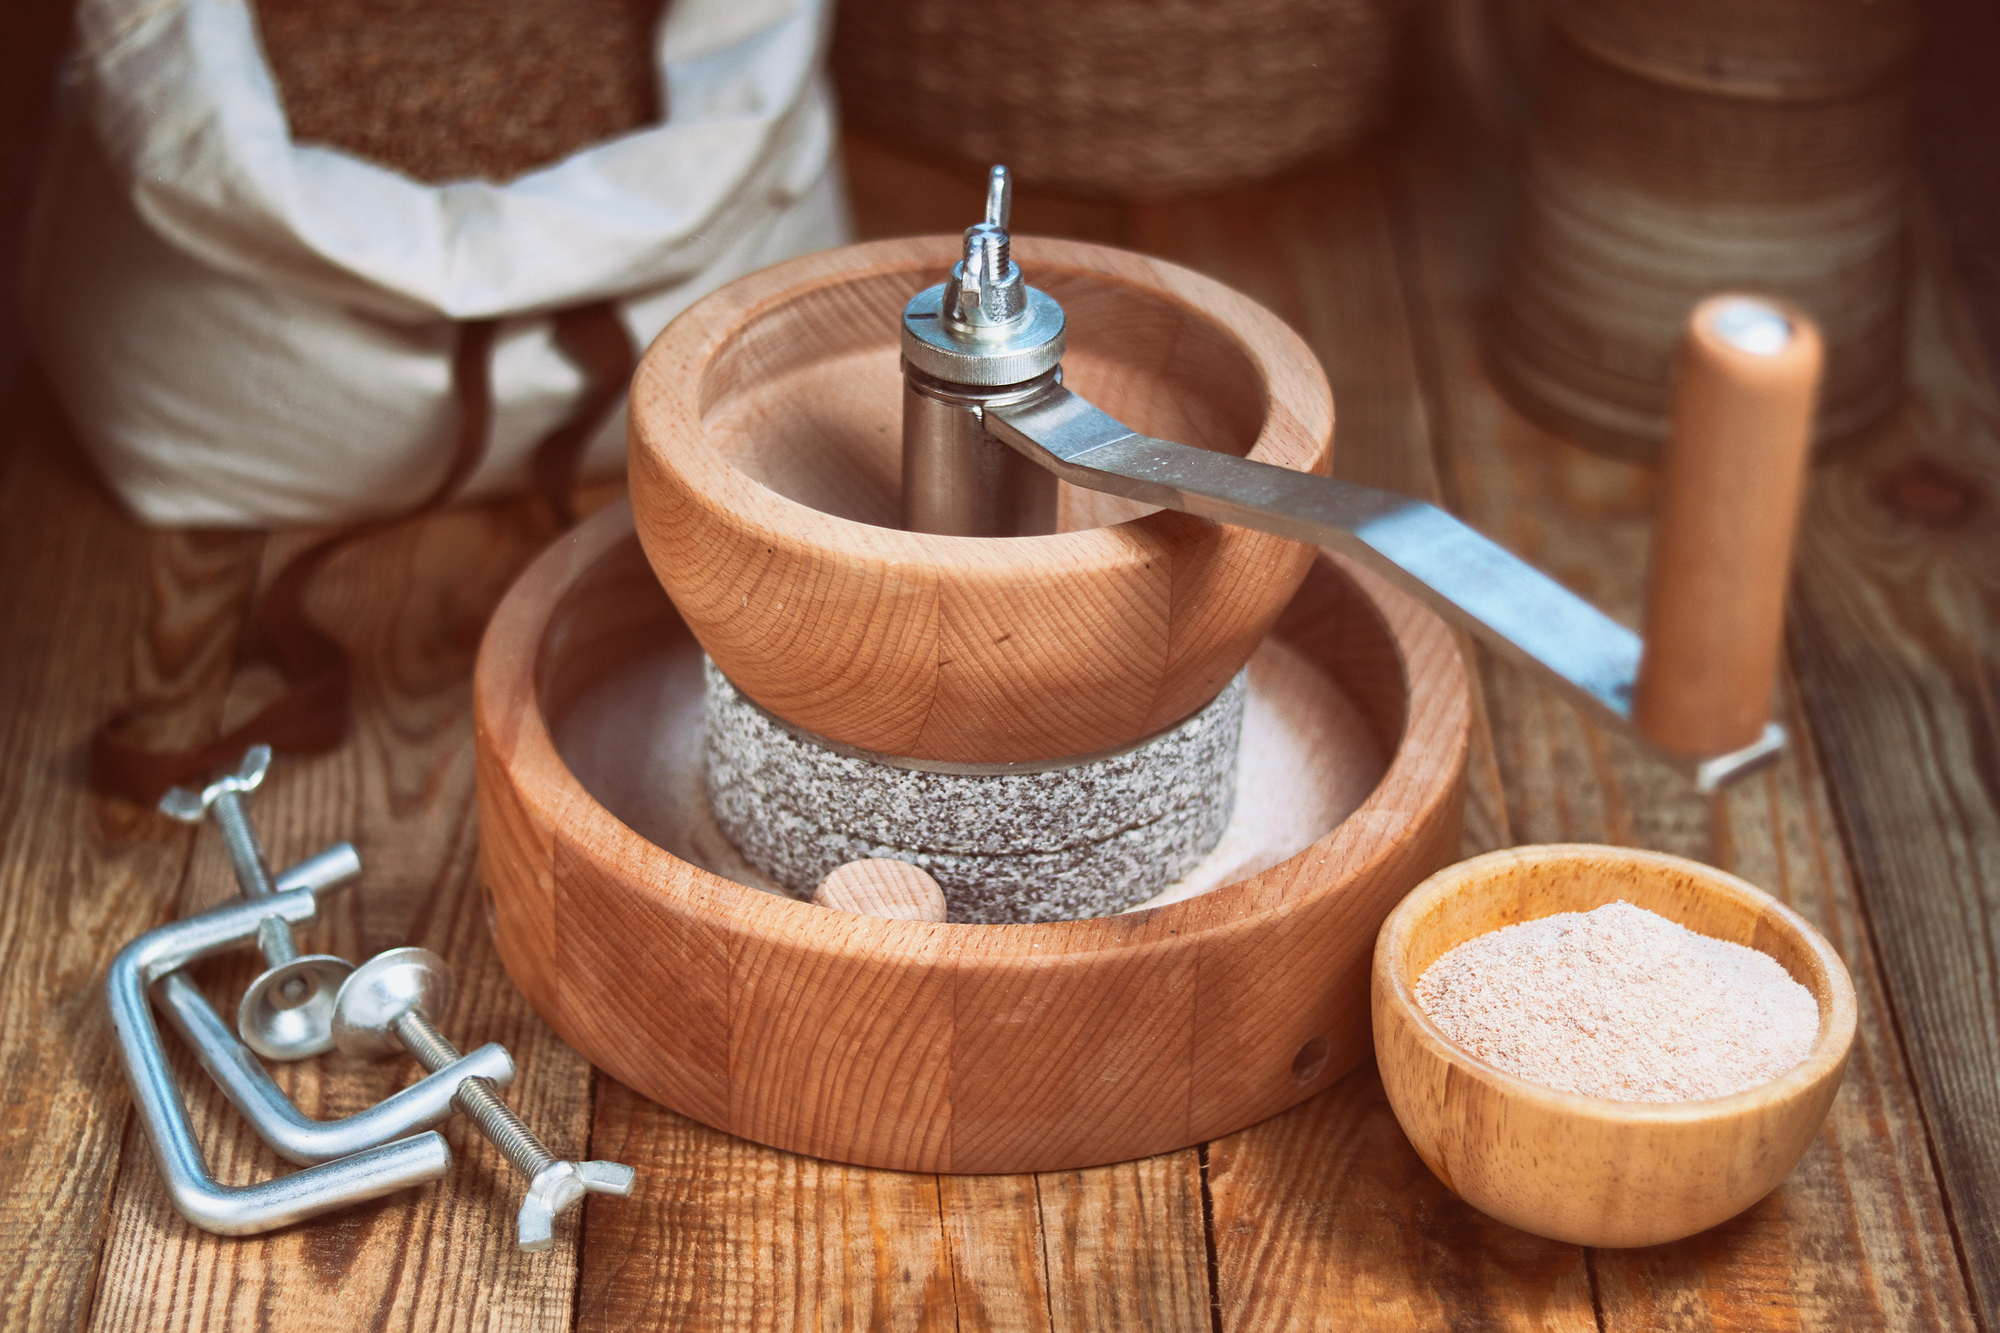
- Manual milling. Using a hand-cranked mill offers a tangible connection to the process, though it requires more physical effort.
- Electric milling. Electric mills provide efficiency and consistency, ideal for those milling larger quantities.
- Stone grinding. Some mills use natural stone to grind the grains, preserving the temperature and nutritional content.
- Blender or food processor milling. These kitchen appliances can be used for grinding in small batches, though they may not achieve the same fine texture.
Nutritional Benefits Of Milling Flour At Home
Freshly milled flour retains more nutrients compared to store-bought options, as it hasn’t been exposed to oxidation or preservatives. The whole grain, including the bran and germ, preserves essential vitamins, minerals, and fibers within the final product.
Homesteaders appreciate this aspect as it aligns with a lifestyle prioritizing health, quality, and connection to their food source.
Understanding the types of grains, milling methods, and nutritional benefits is the first step in the rewarding journey of milling flour at home.
As a homesteader, this practice aligns with the values of self-sufficiency, sustainability, and a deep appreciation for the natural world. Whether you’re milling flour for the first time or looking to expand your knowledge, this section lays the groundwork for a fulfilling experience beyond mere sustenance, reaching into the very heart of what it means to live close to the land.
Choosing The Right Equipment To Mill Flour At Home
Selecting the right equipment for milling flour at home is a decision that resonates with the homesteader’s ethos of practicality, quality, and sustainability.
The choice between manual and electric mills, considerations of budget, and understanding the compatibility with various grains are all integral to finding the perfect fit for your homestead kitchen. We will guide you through these considerations, helping you choose the equipment that aligns with your need for creating freshly milled flour.
Manual Vs. Electric Mills
One of the first choices you need to make is whether your mill will be electric or manual. This choice depends on the availability of electricity on your homestead and your desire for self-sufficiency. Selecting the right mill is a crucial decision that aligns with your homesteading goals and lifestyle.
- Manual mills. These hand-operated mills offer a more tactile and traditional experience. They are often preferred for their simplicity, durability, and ability to function without electricity.
- Electric mills. Electric mills provide speed and ease for those who mill grains frequently or in larger quantities. They come with various settings to control the fineness of the flour.
Budget Considerations For Buying A Home Mill
Your financial situation may dictate the size and type of home flour mill you can purchase to mill your own grains.
We recommend the following approach when considering your budget for a home flour mill.
- High-End models. These home mill options often offer more features, durability, and precision but are more expensive.
- Mid-Range options. Many quality mills are available at a moderate price, balancing functionality and affordability.
- DIY Solutions. For the true homesteading spirit, building a mill from scratch or adapting existing tools can be a rewarding project.
Mill Compatibility With Grains
The type of grain your will mill most frequently will play a determining factor in the mill most suitable to your needs. Different mills handle different grains with varying efficiency.
- Hard Vs. Soft Grains. Some mills are better suited for hard grains like wheat, while others excel with softer grains like oats.
- Coarseness Control. Look for mills that allow you to adjust the coarseness, giving you flexibility in your recipes.
Choosing the right equipment for milling flour at home is a decision that reflects the values and practicalities of homesteading. Whether embracing a manual mill’s traditional craftsmanship or an electric model’s convenience, the right choice brings you closer to the essence of self-reliance and sustainability.
By considering your budget, maintenance preferences, and the types of grains you’ll be milling, you can find the perfect mill to enrich your homestead kitchen and nourish your family with the wholesome goodness of freshly milled flour.
How To Mill Flour At Home: The Milling Process
The magic happens in the milling process, transforming raw grains into flour that will become the backbone of countless homemade creations. From preparation to milling techniques and proper storage, each step is a blend of skill, attention, and a touch of alchemy.
For the homesteader, milling flour is not just a task but a ritual that connects them to the essence of self-reliance and creativity. This section will take you through the milling process, offering insights and guidance to turn grains into flour with confidence and joy.
Preparation To Mill Grains At Home
Before the milling begins, proper preparation will lay the foundation for a smooth milling process and quality flour.
- Cleaning the grains. Remove any debris, stones, or damaged grains. Some prefer to wash and thoroughly dry the grains.
- Drying the grain. If using freshly harvested grains, ensure they are properly dried to the right moisture content.
- Pre-soaking (Optional). Some homesteaders pre-soak grains to unlock nutritional benefits, but this requires additional drying before milling.
Milling Techniques For Milling Flour At Home
The actual milling process may vary slightly depending on the equipment, but we have included some general guidelines to start your milling process.
- Setting the mill. Adjust the coarseness setting if your mill allows it, depending on the desired texture.
- Feed in the grains. Add the grains to the hopper, being mindful not to overfill.
- Start milling. Turn on or crank the mill, allowing the flour to collect in a bowl or bag below the output port of the mill.
- Repeat the process if necessary. For finer flour, you may run it through the mill again.
- Sift the flour (Optional). Some prefer to sift the flour to remove the bran, creating a lighter product.
Store Your Home-Milled Flour
Once you have milled your grain into flour, it is important to store the flour correctly. Proper storage preserves the quality of your freshly milled flour.
- Cooling. Allow the flour to cool if the milling process has warmed it.
- Use airtight containers. Store in airtight containers to prevent moisture and pests.
- Refrigeration. Whole grain flour can be refrigerated or frozen to extend its shelf life.
- Labeling. Consider labeling with the type of grain and milling date, especially if you mill various grains.
The milling process on the homestead is a beautiful blend of tradition, skill, and mindfulness. From the careful preparation of the grains to the rhythmic sound of the mill, each step is a testament to the homesteader’s connection to the land and the food they produce and use to nourish their families.
Whether you’re milling a small batch of specialty grain or producing flour for your weekly bread-making, the process is a rewarding ritual that embodies the essence of homesteading. With practice, you’ll find your rhythm and preferences, turning flour milling into another cherished part of your self-sufficient lifestyle.
How To Use Your Home-Milled Flour
Freshly milled flour is a versatile and vibrant ingredient that breathes life into a wide array of recipes and uses. From the warmth of homemade bread to the delight of pastries and even the nourishment of animal feed, the possibilities are as endless as the homesteader’s imagination.
Bread Making With Home-Milled Flour
Milling your own flour brings a new dimension to homemade bread. The freshness of the flour adds depth to the flavor and texture. Here’s a basic recipe that can be adapted to various grains.
Table: Basic Bread Recipe
| Ingredient | Quantity |
| Freshly milled flour | 3 cups |
| Warm water | 1 1/4 cups |
| Yeast | 1 packet (or 2 1/4 tsp) |
| Salt | 1 tsp |
| Honey or sugar | 1 tbsp |
Instructions. Mix the instant yeast with warm water and honey for sweetening, and let it sit for 5-10 minutes. Combine with flour and salt, knead until smooth, and let rise for 1-2 hours. Shape, place in a greased pan, and let rise again for 30 minutes. Bake at 375°F (190°C) for 25-30 minutes.
Other Culinary Uses For Home-Milled Flour
Freshly milled flour isn’t limited to bread. It can be used in a variety of recipes, each showcasing the unique characteristics of the grain. Here are some ideas to get you started.
- Pancakes and waffles. Replace store-bought flour with your milled flour for a wholesome breakfast. Adjust the liquid in the recipe, as freshly milled flour may absorb more.
- Pasta making. Experiment with different grains to create homemade pasta with rich flavors. A blend of hard wheat and semolina could be an excellent starting point.
- Pastries and baked goods. From muffins to pie crusts, freshly milled flour adds a rustic touch. You may need to experiment with the ratios, as whole-grain flour behaves differently from refined flour.
Feeding Homestead Animals With Home-Milled Grain
If you keep animals on your homestead, freshly milled grains can be a valuable addition to their diet. Chickens, for example, can benefit from whole-grain feed. We have included a simple table to guide the inclusion of milled grains in animal feed.
Table: Grain Inclusion in Animal Feed
| Animal | Grain Type | Percentage of Diet |
| Chickens | Corn, wheat, barley | 10-20% |
| Pigs | Barley, oats | 5-15% |
| Cows | Corn, barley | 10-25% |
The possibilities with freshly milled flour are as vast as the homesteader’s creativity and curiosity. From the daily loaf of bread that sustains the family to the special treats that celebrate the seasons, milling flour at home enriches the culinary experience. Beyond the kitchen, it extends to nourishing the animals that are part of the homestead’s ecosystem.
Sustainability Of Milling Flour At Home
Milling flour at home is not merely a culinary endeavor; it’s a practice deeply intertwined with sustainability, community, and ethical living values. For the homesteader, each grain milled is a reflection of a commitment to the environment, local economy, and responsible stewardship.
Home milling has broader implications, such as exploring grain sourcing options, environmental impact, and community engagement. Milling flour at home can be a meaningful expression of a sustainable and compassionate lifestyle.
Sourcing Grains Locally
Homesteading often emphasizes a close connection to the local community and environment. By sourcing grains locally, you support nearby farmers and reduce the carbon footprint associated with grain and food transportation. Local grains often come with the added benefit of being grown with care and attention to soil health, biodiversity, and sustainable farming practices. Building relationships with local farmers can lead to a deeper understanding of the grains you mill and the land they come from.
Environmental Impact Of Milling At Home
Milling flour at home aligns with the broader goals of sustainability that many homesteaders value. You contribute to farming practices that minimize harmful pesticides and synthetic fertilizers by choosing organic or responsibly grown grains.
Manual milling options further reduce energy consumption. Even the packaging can be considered, as buying grains in bulk reduces plastic and waste.
Milling Flour At Home Can Foster Community Engagement
The act of milling flour and baking with it can become a communal experience, fostering connections within your community.
Sharing freshly baked bread with neighbors, hosting milling workshops, or collaborating with local schools to educate children about traditional food preparation are ways to extend the benefits of home milling beyond your homestead. These activities nurture a sense of community, shared values, and a collective appreciation for wholesome, homemade food.
Sustainability considerations are at the heart of the decision to mill flour at home, especially within the context of homesteading. It’s more than a cooking choice; it reflects a way of life that values community, environmental stewardship, and ethical integrity.
From the fields where the grains are grown to the table where the bread is shared, every step offers an opportunity to make conscious choices that resonate with sustainability principles. Milling flour at home symbolizes a holistic approach to living, where food is not merely consumed but deeply connected to the land, the community, and a sense of purpose.
Conclusion
Milling flour at home is a big commitment for homesteaders and requires time and equipment to achieve the goal. However, the benefits gained by milling flour at home far outweigh the initial cost or the time investment.
Milling flour at home is an integral part of the homesteading ethos, and you can implement this activity on a large or small scale, depending on your needs and financial standing. Milling flour at home brings a level of satisfaction and self-sufficiency that only homesteaders and people of this mindset understand and appreciate!
References
https://www.amazon.com/Country-Living-Hand-Grain-Mill/dp/B003UNNE3E/
https://www.amazon.com/FoundGo-Commercial-Stainless-Pulverizer-Pulverizing/dp/B0BLYQWWL5/
https://www.amazon.com/Natural-Bluestone-Pulverizer-ornament-7-87×11-8/dp/B09WXXC9CP/
https://www.amazon.com/OUYOLAD-Electric-Grinder-Nutrimill-1Wrench/dp/B0BG5JSH87/
https://www.amazon.com/Deluxe-Crank-Grinds-Grains-VKP1024/dp/B006P2KG0Q/
https://secretlyhealthyhome.com/how-to-make-homemade-flour-3-steps/
https://truesourdough.com/full-guide-to-milling-your-own-flour-at-home-why-how-pros-cons/
https://aberlehome.com/milling-flour-at-home/
https://extremewellnesssupply.com/blogs/news/how-to-make-flour-at-home